Work with Content in Qvidian for Web
Inserting Content
After completing a search, the top content results appear in the Qvidian side panel, sorted by relevance. When searched content is inserted into the RFP, Qvidian for Web will remember the search terms that were entered.
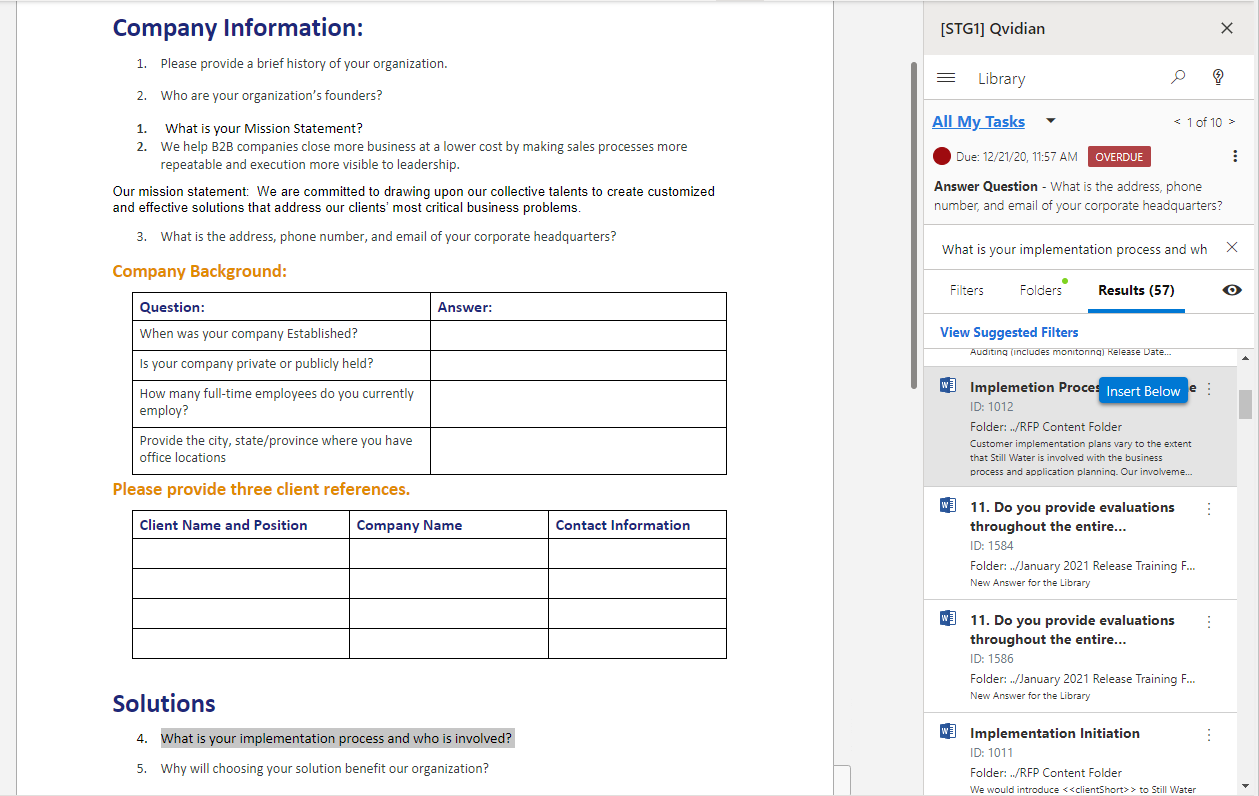
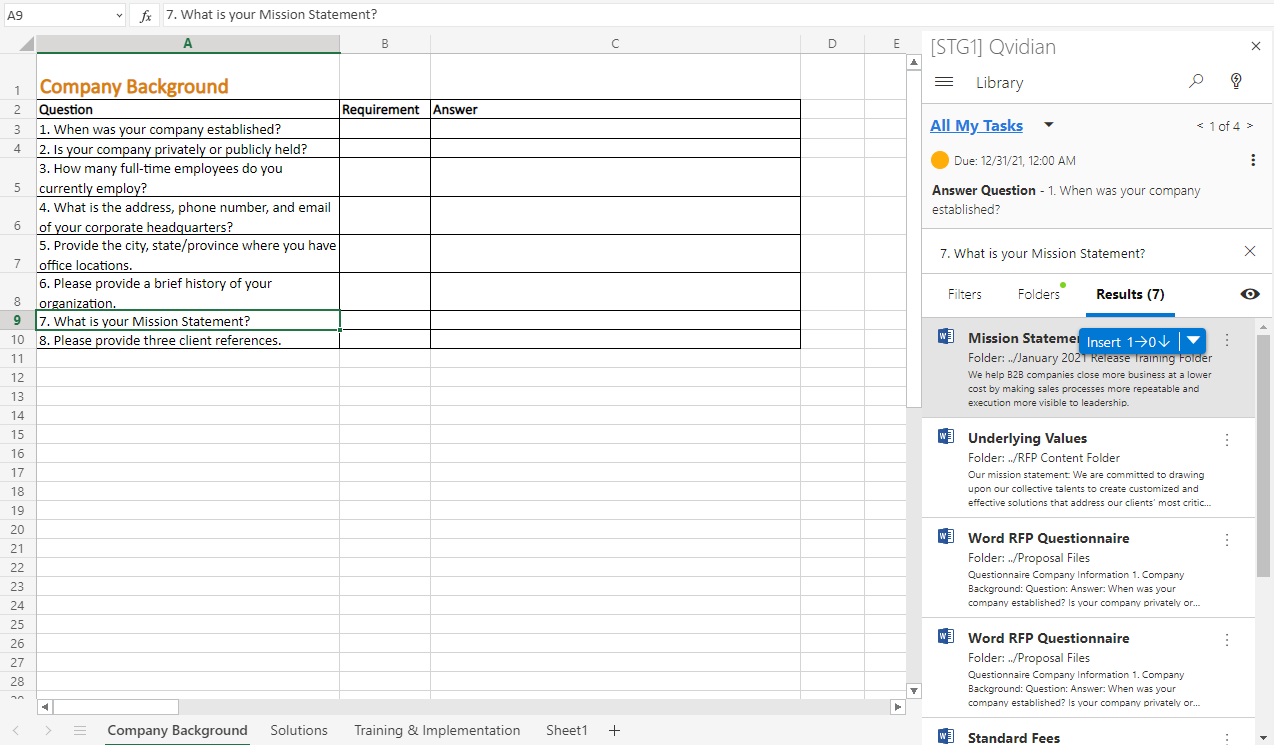

Qvidian for Web Results tab before inserting content in Word (left), in Excel (middle), and in PowerPoint (right)
- Once you've completed a search, top content results will appear in the Results tab.
- Hover over the results to display the Insert icon.
- Word: Click Insert Below to insert the desired content into a paragraph cell.
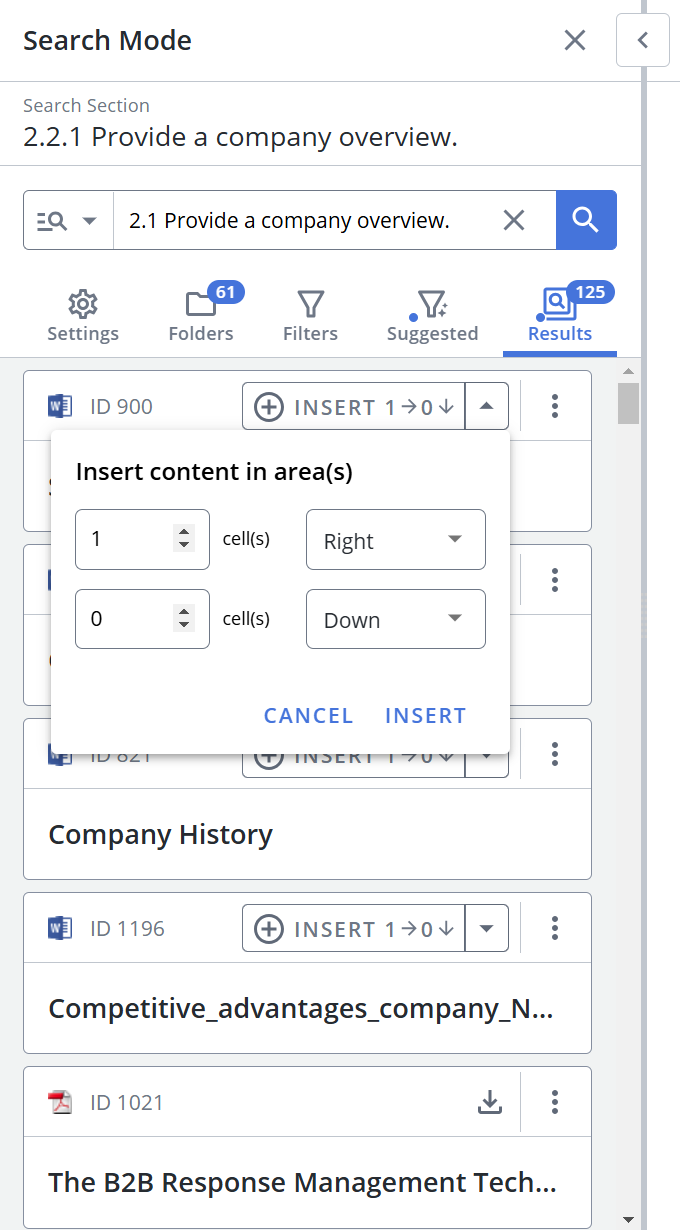
- Excel or Word table: Click Insert to insert desired content into Excel or a Word table cell. By default, the answer is inserted one cell to the right of the active cell. If you wish to update where the answer is inserted, click the dropdown arrow within the Insert icon; the "Insert Answer" dialog will appear and allow you to select the cell where the answer will be inserted.
- PowerPoint: Click Insert Below to insert slides directly into the presentation.
Caution: If you add a content record that contains images to a cell in Excel, only the text will be inserted. Due to Excel’s limitations, the image will not be added to the cell.
Note: The "QvidianForPowerpointSlideInsertMethod" global setting allows you to control whether the inserted PowerPoint slides will use the destination or source formatting. "Destination Formatting" is the best option for organizations that want to start with a consistently themed presentation. Select the "Source Formatting" option to make the inserted PowerPoint slides resemble those found in the library, which will result in a larger file size due to the source master slides included in the build.
Working with Content
View information and interact with the content record in the context sensitive panel. Click the More  icon on a search result to display the following menu options:
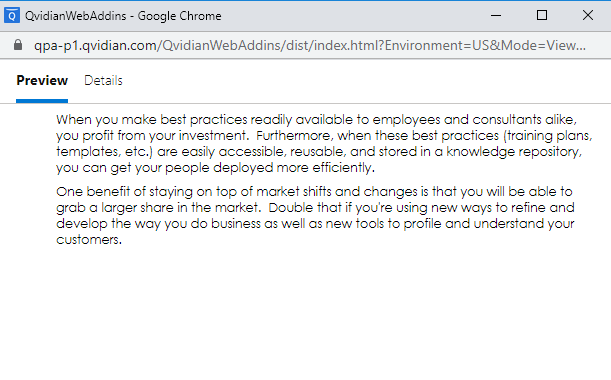
- Preview: Click to open a dialog that displays an HTML preview of the content record. You can also select and copy text from the preview window, which Qvidian will record as content usage.
- View Source Content: Opens a new tab and displays all the sources used to generate the AI Assist response.
- Copy to Clipboard: Copy text from the search results to your clipboard.
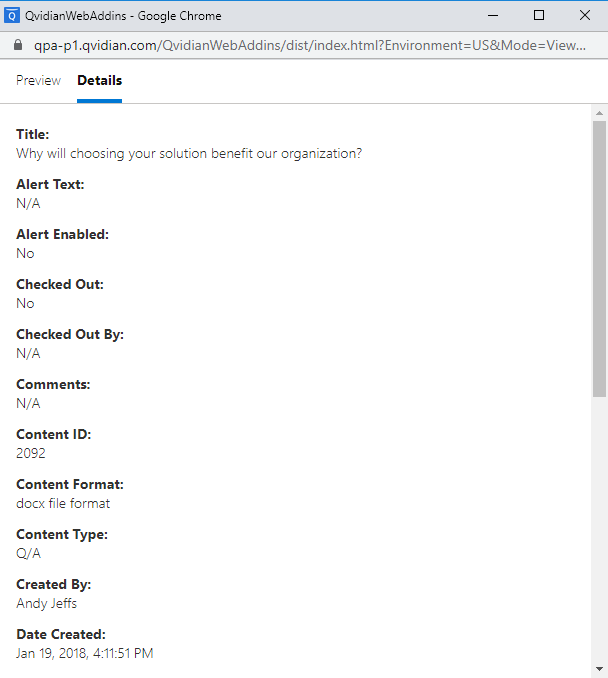
- View Details: Click to open a dialog that displays the content record's metadata (e.g. Content ID, Date Created, Date Last Modified, Times Used, etc.). You can also select and copy and/or drag and drop text from Details.
- Insert Below as HTML: This option, which preserves most graphics and formatting, is only available for Word.
- Download: All file types can be downloaded containing their Library References and Default Value Merge Codes. Word files can be downloaded or inserted directly into the Project.
- Feedback: Add feedback on content records and reply to existing feedback. This allows you to direct questions and concerns about content records directly to their associated content owners. This is not for providing feedback related to specific responses or Projects. Feedback submitted here is tied to the content record itself, without any greater context.
- Search: To search through existing feedback, enter text into the Search Feedback field and click the Search
 icon or Enter.
 - Filter: Click the Filter
 icon and choose whether to filter by All Feedback or My Feedback.
 - View: To view all replies for a particular feedback thread, click the Show all replies (X) link, where X indicates the number of replies in that feedback thread.
- Reply: To reply to a piece of feedback, click the Reply button, enter your feedback and click Send. If you do not wish to receive notification emails for this feedback thread, select the Do not send me a notification email checkbox.
- Add: To add new feedback, click +. The "Send Feedback" dialog will appear. Select the feedback Type (Comment, Problem, Question, Suggestion) from the Type drop-down menu. Once a feedback thread is created, the type cannot be changed. Enter the feedback Title and Comments and click Send. If you do not wish to receive notification emails for this feedback thread, select the Do not send me a notification email checkbox.
Note: Microsoft Office default fonts are supported when previewing a piece of content.

Note: To add attachments to your content feedback, navigate to the Library and upload the attachments there. For more information, see Feedback.
Note: The "Use Product Feedback" User / Role permission allows users that are content consumers to submit Feedback on library content.
Tip: To display more information in the Results tab of the Search panel, see Configure Results Display.
Using FirstPass
FirstPass helps users create a first draft response faster by automatically inserting the most relevant answer to a block of selected questions at the same time. This allows you to spend more time customizing answers and crafting responses to more complex questions. Search terms are not accumulated in FirstPass, but search history is recorded. FirstPass is not yet available in PowerPoint.
Note: To turn off FirstPass, disable the "AllowFirstPassInQvidianForMicrosoftOffice" Global settings

Qvidian for Web screen when running FirstPass
- Click the Menu
 icon and select Library.
 - Highlight one or more questions or question cells.
- Click the FirstPass
 icon to automatically insert the most relevant answer(s) to the selected question(s).
 - If applicable, tell Qvidian where to insert the answers using the Insert Answers screen.
- Click Run FirstPass.
Note: If generated content is being used to answer questions, select the Use AI Assist to write a custom answer checkbox. For more information, see AI Assist in Qvidian for Office. As of the January 2026 release, AI Assist in FirstPass does not have the ability to show users what content was used in the answer.
Caution: If you attempt to preview (and copy), insert, or run FirstPass using a piece of Library content with an alert enabled, the alert message dialog will appear prior to your action. If any issues occur, they may be due to the browser version that Microsoft Office is using (which can be different from the version used by your Qvidian instance).